Finally started tackling the road noise in my 2012. I started with the front doors and will add pictures as I go through the process for anyone who’s interested.
I went with the Noico 50mil and 80mil deadener
Also, harper7 has a good amount of pics showing the cargo area – I have the slide out tray, so may show that removal process.
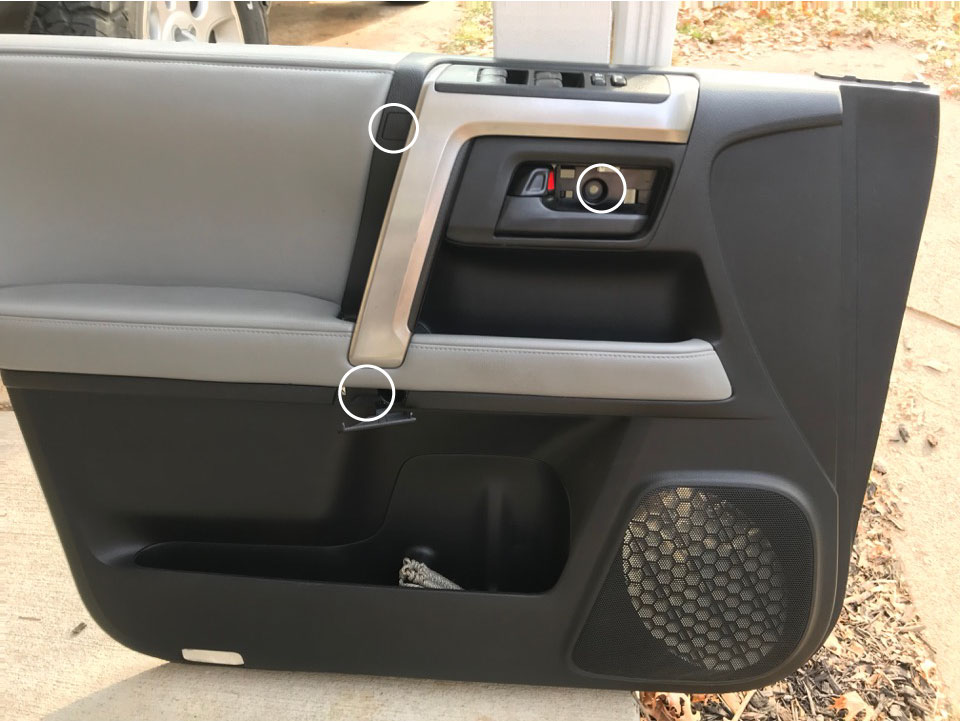
There are 3 screws you’ll need to remove on the panels. Once they’re out, you can work the snap clips out pretty easily. You’ll also need to unhook the top window/lock control, door pull cables (2) and the bottom kick light.
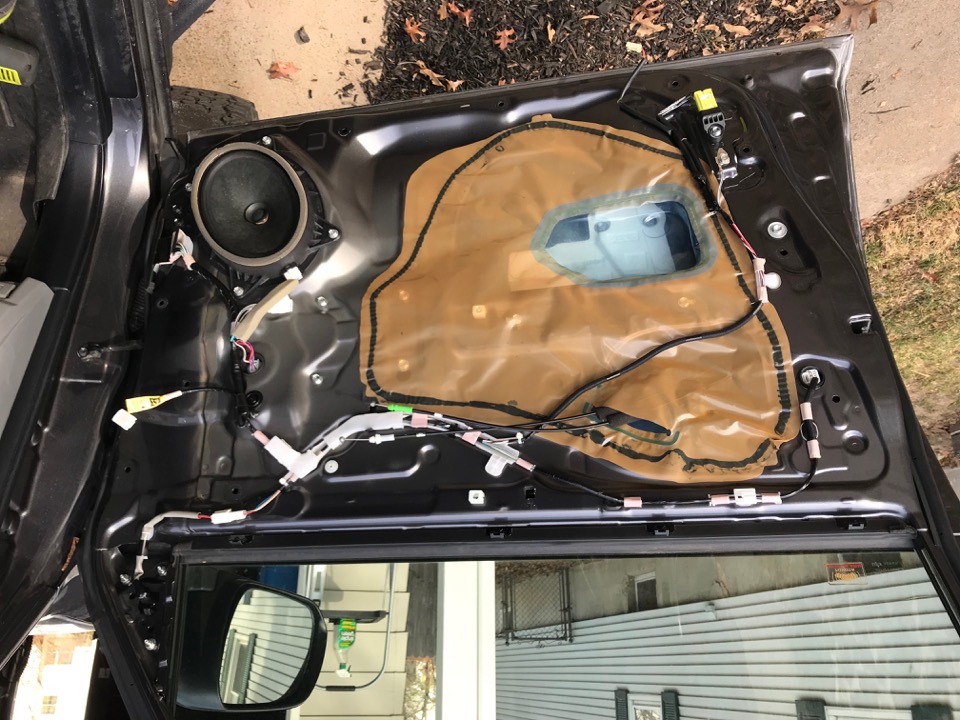
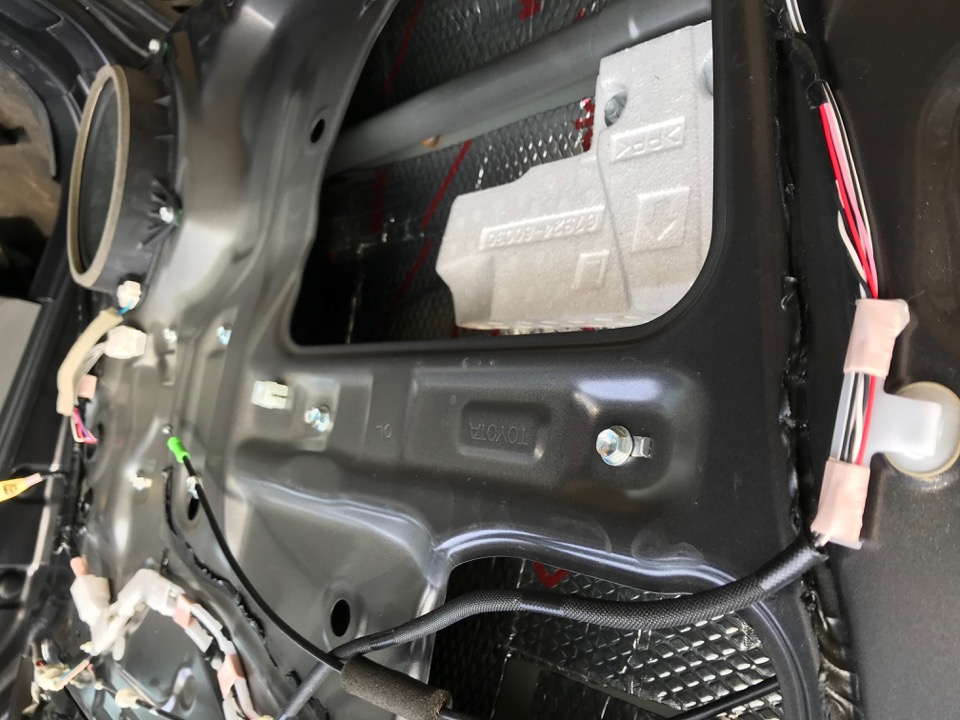
The naked door
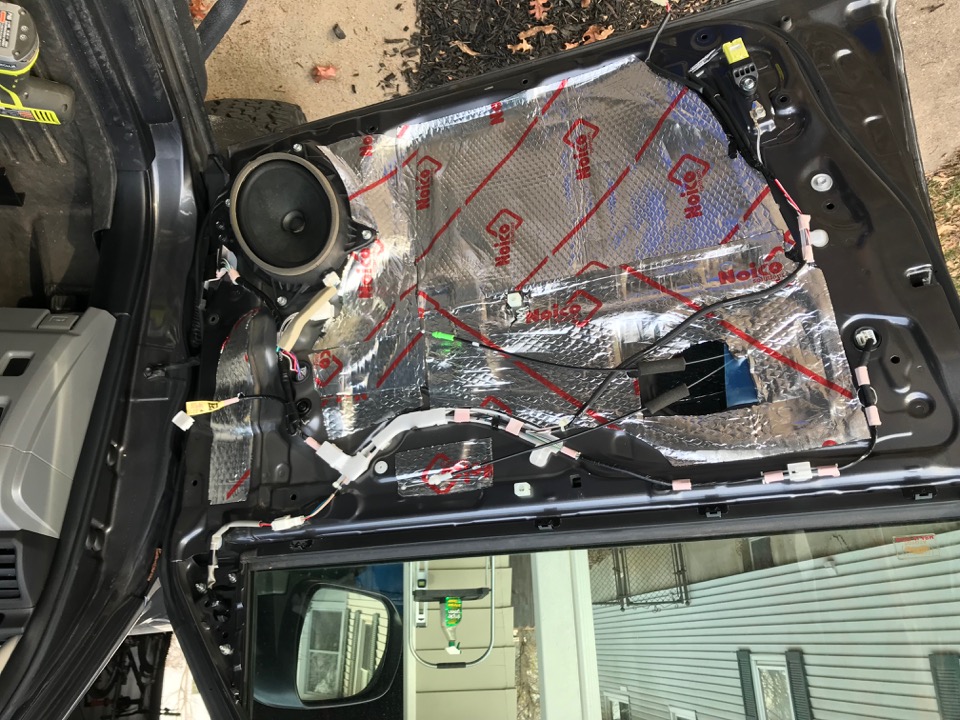
I removed the plastic sheet since I was covering with Noico.
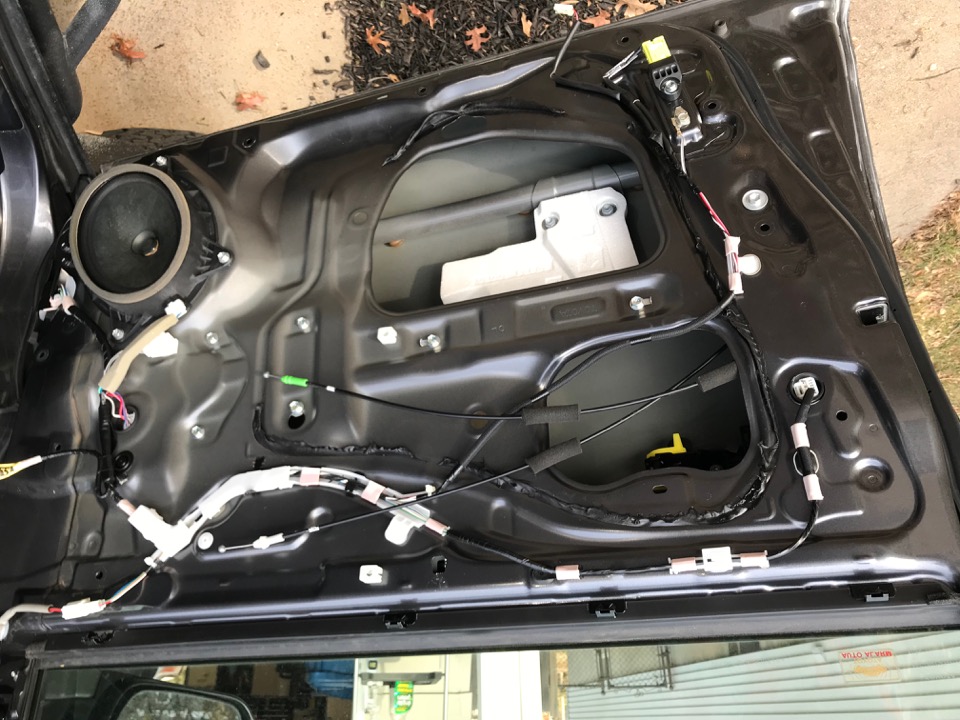
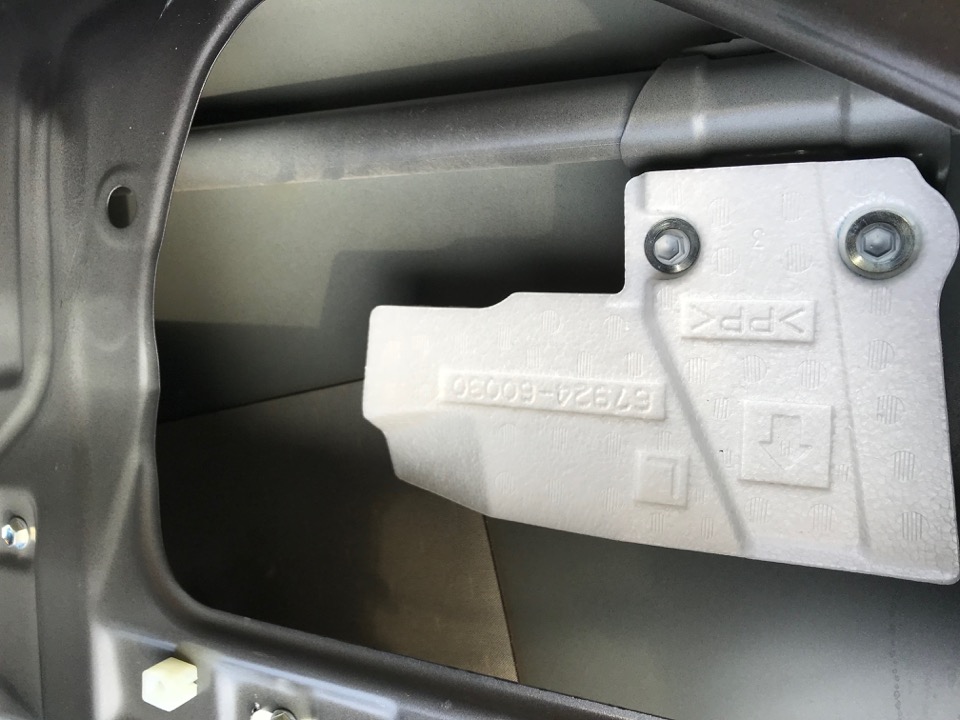
Removed the styrofoam factory deadener
There is plenty of room in the door to work, so you can go crazy and get really good coverage.
Next, I started covering the flat spots on the inner skin.
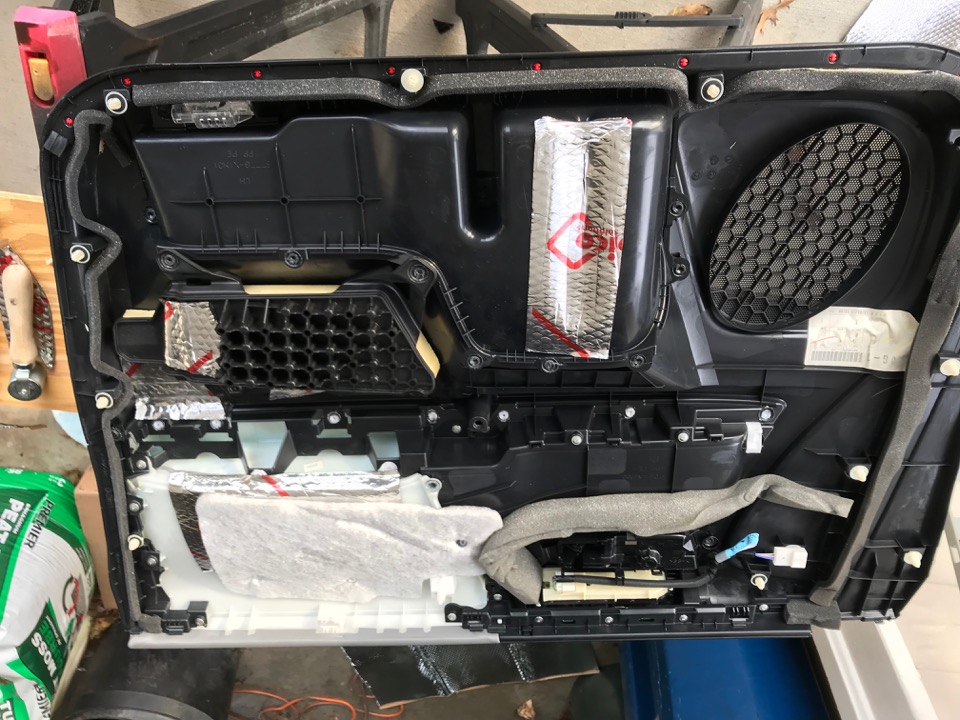
Finally, the inside of the door panel was done. I wasn’t too concerned here and used remnants wherever there were big flat spots.
I also made a short video with the non-deadened passenger side and deadened driver side. It may not be audible, but the difference IRL is pretty awesome. Nice solid feel and no tinny sound.
Back to article list